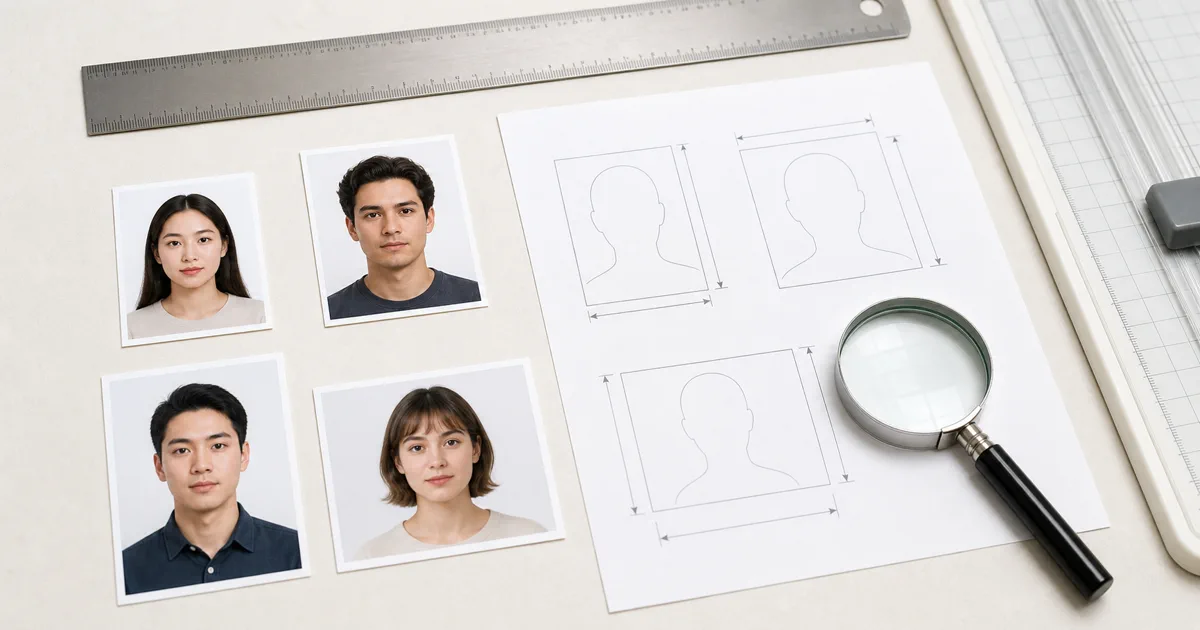
VisaPicPro logo VisaPicPro
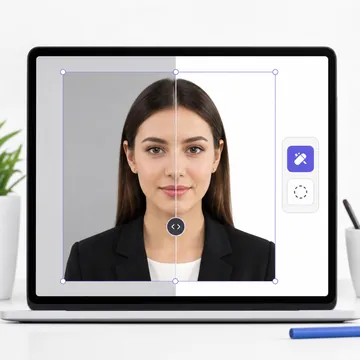
Practical Photo Tools for Passport, Visa, and ID Workflows realistic preview

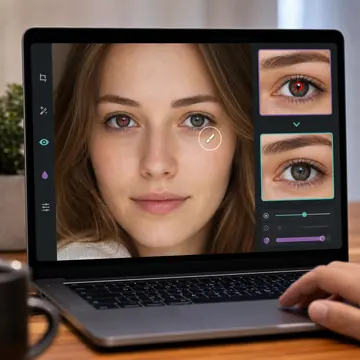
Tool preview

Practical Photo Tools for Passport, Visa, and ID Workflows: what to check before download

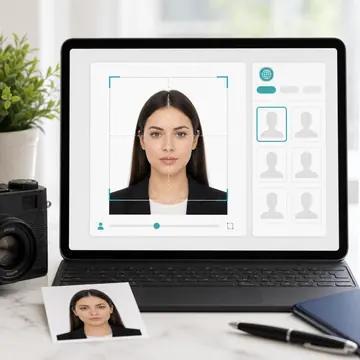
Use this Practical Photo Tools for Passport, Visa, and ID Workflows page as a practical browser workspace: check the preview, confirm the output settings, and download only after the image looks clear on mobile and desktop.

For best results, start with the original camera file instead of a screenshot or a compressed social-media image. That keeps edges sharper and gives the tool enough detail to process the face, background, or file size correctly.

Best Tools

Start With the Tools Most Users Need

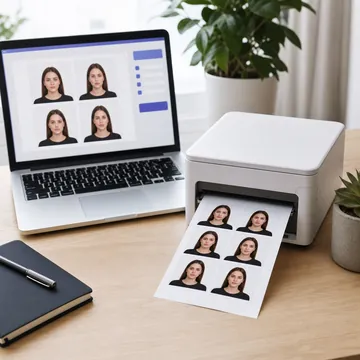
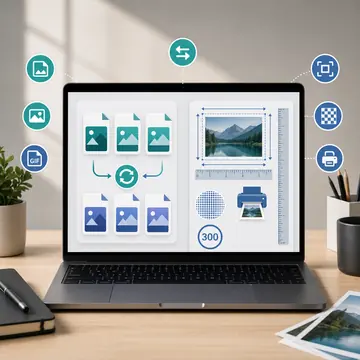
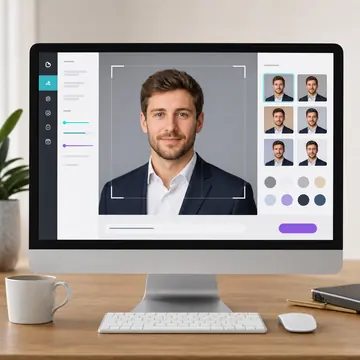
These tools cover the most common document photo tasks: remove the background, prepare a print sheet, check compliance, and resize files for upload.
Helpful checklist

Practical notes for Practical Photo Tools for Passport, Visa, and ID Workflows

Before using Practical Photo Tools for Passport, Visa, and ID Workflows, start with the original image from your camera or phone gallery. Screenshots and social-media downloads often have lower detail, missing metadata, or compression artifacts that make print and document-photo work less reliable.

Check the preview at normal size and again after export. If the output will be printed, confirm the pixel size, DPI, background, and file format before sending it to a photo lab or uploading it to a government portal.

VisaPicPro tools run in the browser where possible, which helps keep the workflow fast and private. Still, the final decision belongs to the office, embassy, school, or website receiving the image, so compare the export with their latest checklist.

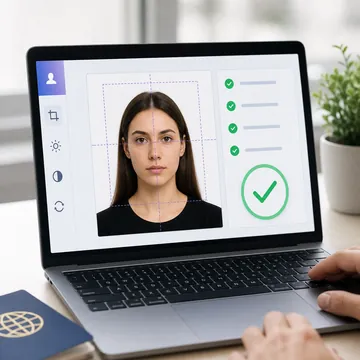
Use the linked compliance checker when the image is for a passport, visa, ID, or official profile. It can catch common issues such as soft focus, wrong crop, uneven lighting, and a background that is not plain enough.

Quality notes

Final quality checks for Practical Photo Tools for Passport, Visa, and ID Workflows

Use Practical Photo Tools for Passport, Visa, and ID Workflows with a practical file-quality mindset. A technically correct export can still fail if the original image is blurry, cropped from a screenshot, or saved through an app that compressed the file too much.

Take the photo again if the eyes are soft, the face is tilted, the background has visible texture, or the hair blends into the wall. Those issues usually cannot be fixed cleanly later without creating an artificial-looking result.

For digital upload, check pixel size, file format, and file-size limit. For printing, check physical dimensions and DPI before cutting. If the page or embassy asks for a recent photo, do not reuse an old portrait even if the dimensions are correct.

One standard daily download is available for quick use. Choose HD or print-ready export when you need sharper output, repeated downloads, multiple paper sizes, or a printable sheet that keeps the final size consistent.

Before export: preview the crop at full size and check the background edge.
Before submit: compare the file with the latest appointment or upload checklist.
For print: use 300 DPI and avoid resizing the downloaded file manually.
For privacy: keep your original photo local unless an official portal asks for upload.

Extra review step for Practical Photo Tools for Passport, Visa, and ID Workflows

After creating the file, open the exported image once before using it. Check that the face is not stretched, the background edge is clean, and the final file still matches the size shown on the page.

If the photo will be printed, keep one untouched copy and one print-ready copy. If it will be uploaded online, confirm the portal accepts the file type and maximum file size before starting the application.

This final review reduces avoidable rejection risk and helps users choose the right export: standard for a quick daily copy, HD for sharper digital use, or a print sheet when exact paper layout matters.