
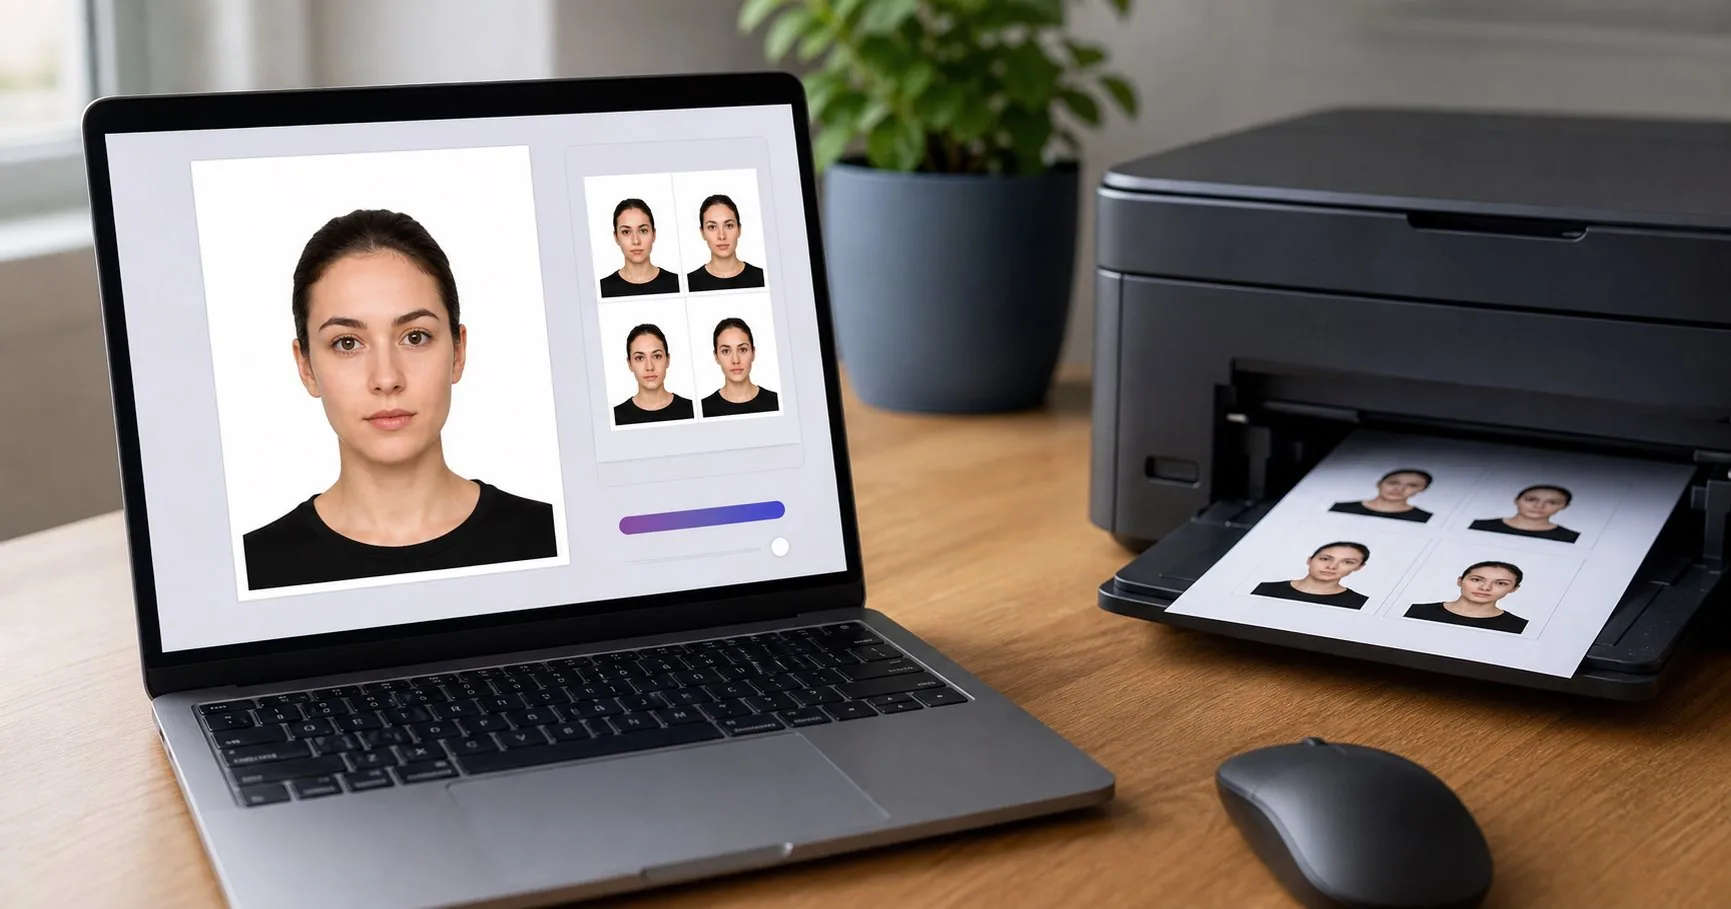
A passport photo can look perfect on your phone and still print badly. The most common reason is not the camera. It is the export size. When a file is too small, too compressed, or printed with the wrong scaling option, the face becomes soft and the borders no longer match the required physical size.
This is where 300 DPI matters. DPI means dots per inch. In normal language, it describes how much image detail is available for every inch of printed paper. For passport photos, 300 DPI is a practical target because it produces a sharp print without creating a huge file. It is also the quality level many photo labs and home printers are designed around.
What 300 DPI Means for Passport Photos
DPI only matters when a digital image becomes a physical print. A 2 x 2 inch passport photo at 300 DPI needs about 600 x 600 pixels for the photo area. A 35 x 45 mm photo needs roughly 413 x 531 pixels at 300 DPI. These are not random numbers. They come from converting physical size into inches and multiplying by 300.
However, a passport photo file should usually be larger than the bare minimum. Extra pixels help preserve facial detail, hair edges, clothing texture, and background smoothness. If the source photo is already small, exporting it as 300 DPI cannot magically create real detail. It may mark the file as 300 DPI, but the print can still look soft.
Pixels vs DPI: The Difference That Confuses Users
Pixels are the actual image information. DPI is the print instruction. A 1200 x 1200 pixel image contains more detail than a 600 x 600 pixel image, even if both files say 300 DPI. For online applications, portals often care about pixel dimensions and file size. For printing, you care about physical dimensions and DPI.
That is why a good passport photo workflow should handle both. It should create the correct digital crop and also prepare a print sheet where each copy appears at the right physical size. If you manually paste photos into a document editor, it is easy to stretch the image by accident. That small stretch can make the head height wrong.
Why Print Sheets Are Better Than Single Photos for Printing
If you take a single passport photo file to a print shop, the shop software may enlarge, center, crop, or fit it to a paper size. The result can be a photo that looks close but measures wrong. A print sheet avoids that problem by placing multiple correctly sized copies on a standard page such as 4 x 6, A4, or Letter.
For example, a 4 x 6 sheet can hold several US-style 2 x 2 photos with spacing for cutting. A4 or Letter layouts can hold more copies and are useful when printing at home. The important setting is to print at 100 percent scale. Do not use "fit to page" if the sheet was already prepared at the correct size.
Common Reasons Passport Photos Print Blurry
- The original photo was taken with the front camera in low light.
- The image was downloaded from a messaging app after compression.
- The photo was screenshotted instead of exported.
- The file was enlarged beyond its real resolution.
- The print dialog used fit-to-page scaling.
- The printer was set to draft or economy quality.
- Plain office paper was used instead of photo paper.
Most of these problems are avoidable. Start with the rear camera, take the photo in good light, upload the original file, and download a proper print-ready export. Do not send the image through apps that compress it before printing.
How to Prepare a 300 DPI Passport Photo Online
First, take a clear photo with enough room around the head and shoulders. The face should be sharp and evenly lit. Upload the original image to VisaPicPro and choose the correct country or document preset. After the crop is prepared, choose the export that matches your purpose.
If you only need a standard digital copy for a simple upload, a standard single-photo download may be enough. If you are printing, applying to a portal that checks quality strictly, or need both the single file and a sheet, choose the HD and print-ready export. That gives you a cleaner result and a layout designed for real printing.
Home Printer Settings That Matter
A good file can still fail if the printer settings are wrong. Use photo paper if possible. Choose high quality or best quality, not draft. Turn off automatic page scaling. Print at actual size or 100 percent. If your printer driver has borderless printing, use it only when the sheet was designed for that paper type. Otherwise, leave normal margins and cut the photos carefully.
After printing, measure one photo with a ruler. Do not guess by eye. If the required size is 2 x 2 inches, the printed photo should physically measure 2 inches by 2 inches. If it is smaller or larger, the problem is usually scaling, not the photo file itself.
Photo Lab Printing Tips
If you print at a pharmacy or photo lab, upload the print sheet, not the single photo. Select the matching paper size. For a 4 x 6 sheet, choose 4 x 6 photo printing. Avoid collage options, auto-crop options, or creative templates. The sheet already contains the passport photo layout, so the lab should print it as a normal photo.
When you pick up the print, check sharpness, color, and physical size before leaving. Skin tone should look natural. The background should remain plain white or off-white, not gray or tinted. If the machine added borders or changed the crop, reprint with a different scaling option.
Does Higher Than 300 DPI Help?
Sometimes, but not always. A higher DPI file can preserve detail, but many printers and labs effectively output around 300 DPI for standard photo prints. Very large files may not improve the final result and can make uploads harder. For passport photos, correct size, clean crop, good lighting, and sharp focus usually matter more than chasing extreme resolution.
The best target is practical: a sharp source image, a correct crop, and a 300 DPI print-ready sheet. That combination is enough for most passport and visa photo printing needs.
Final Checklist Before Printing
- Use the original photo, not a screenshot.
- Export the correct country size.
- Use HD or print-ready output when printing.
- Choose the paper size that matches the sheet.
- Print at 100 percent scale.
- Use photo paper and high quality mode.
- Measure the final print with a ruler.
If you follow this workflow, you avoid the most common print quality problems: blurry faces, wrong physical size, cropped hair, gray backgrounds, and low-resolution output. A passport photo is small, but it needs to be precise. Treat the export step as seriously as the photo-taking step.
Need a 300 DPI Print Sheet?
Create your passport photo in VisaPicPro and unlock HD single photo plus print-ready sheets for 4 x 6, A4, and Letter layouts.
Create Print-Ready Photo